PHOTOGRAMS/SHADOWGRAMS
WHAT ARE PHOTO/SHADOWGRAMS?:
"A photogram is a photographic image made without a camera by placing objects directly onto the surface of a light-sensitive material such as photographic paper and then exposing it to light."
SOME HISTORY:
Henry Fox Talbot:
"Talbot invented a process for creating reasonably light-fast and permanent photographs that was the first made available to the public; however, his was neither the first such process invented nor the first one publicly announced."
"Shortly after Louis Daguerre's invention of the daguerreotype was announced in early January 1839, without details, Talbot asserted priority of invention based on experiments he had begun in early 1834. At a meeting of the Royal Institution on 25 January 1839, Talbot exhibited several paper photographs he had made in 1835. Within a fortnight, he communicated the general nature of his process to the Royal Society, followed by more complete details a few weeks later. Daguerre did not publicly reveal any useful details until mid-August, although by the spring it had become clear that his process and Talbot's were very different."
"Talbot's early "salted paper" or "photogenic drawing" process used writing paper bathed in a weak solution of ordinary table salt (sodium chloride), dried, then brushed on one side with a strong solution of silver nitrate, which created a tenacious coating of very light-sensitive silver chloride that darkened where it was exposed to light. Whether used to create shadow image photograms by placing objects on it and setting it out in the sunlight, or to capture the dim images formed by a lens in a camera, it was a "printing out" process, meaning that the exposure had to continue until the desired degree of darkening had been produced. In the case of camera images, that could require an exposure of an hour or two if something more than a silhouette of objects against a bright sky was wanted. Earlier experimenters such as Thomas Wedgwood and Nicéphore Niépce had captured shadows and camera images with silver salts years before, but they could find no way to prevent their photographs from fatally darkening all over when exposed to daylight. Talbot devised several ways of chemically stabilizing his results, making them sufficiently insensitive to further exposure that direct sunlight could be used to print the negative image produced in the camera onto another sheet of salted paper, creating a positive."
https://en.wikipedia.org/wiki/Henry_Fox_Talbot#Photographic_inventions
CREATING MY OWN PHOTOGRAMS:
As this was my first ever time creating a photogram I wanted to keep it simple until I was comfortable with what I was doing and actually knew exactly what I was doing. I wanted to photograph my hands (the outline) and see how it was work out. I placed one hand slightly over the other on top of photographic paper and then exposed it to the light. During the exposure time i accidentally had moved my left hand which distorted the image of that hand. When is came to developing stage I had went through the three steps: 1. Place into the developer and wait until it had developed. 2. Then place into the fix so that it can no longer develop or change. 3. Lastly wash off all the chemicals and leave to dry. With this print, after it had dried there was still signs of chemicals on it which is what the brown, water like marks are.

PRINT OF HANDS
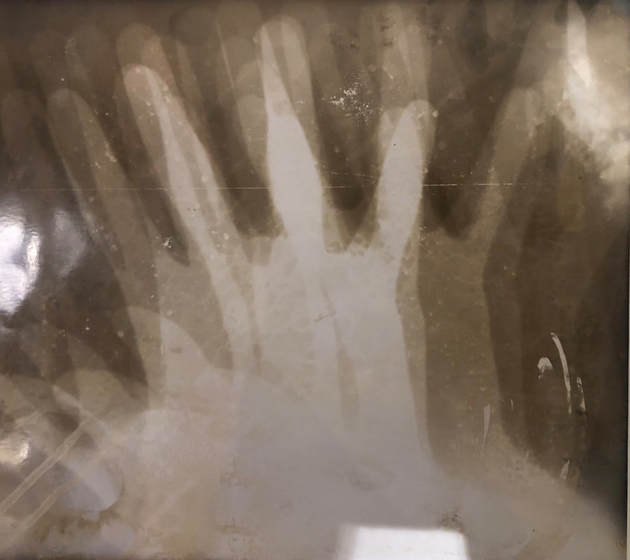
This print, I done the same steps but moved my hands from side to side, intensionally because i wanted to see what it would look like and what capturing actual movement would look link using the camera-less method.
|
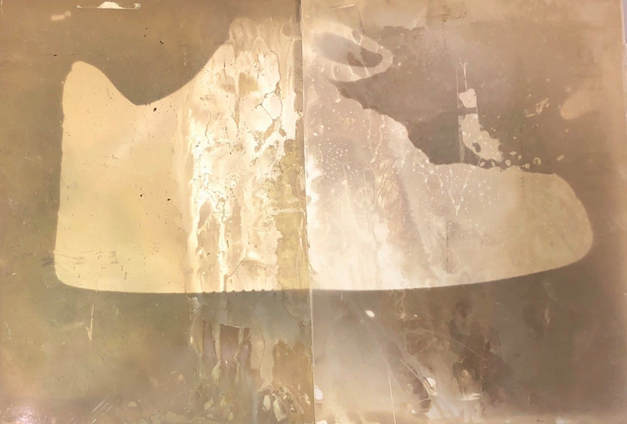
This was my first photogram using an actual object. In this case I used a trainer shoe which did not fight onto one A4 sheet of photographic paper, so instead I used two and placed them together with the shoe on top before then exposing it to the light. The out come was better then I thought and you are able to tell that it is definitely a trainer. There are still, evidently traces of chemicals on there from the developing stage showing that I need to not rush those steps if i want a clear photogram. |
|
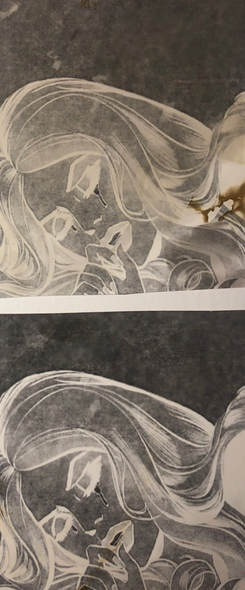
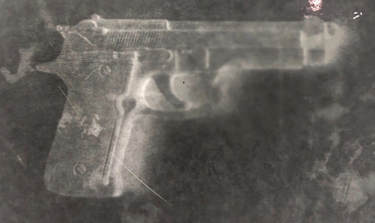
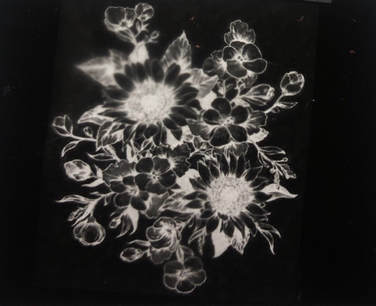
These photograms I created using the same steps as the above photograms but instead I experimented with printing out images from google images and seeing if i could expose them onto the photographic paper. I selected the images which I wanted to photograph and printed them out onto regular A4 printing paper. I then cut them to shape and exposed them onto photographic and experimenting with how long i need to expose them for to get a clear and clean image. They came out really well and I found that the ones which I exposed to light for 7 seconds worked better than the ones I exposed for less or more.
|
|
|
|
|
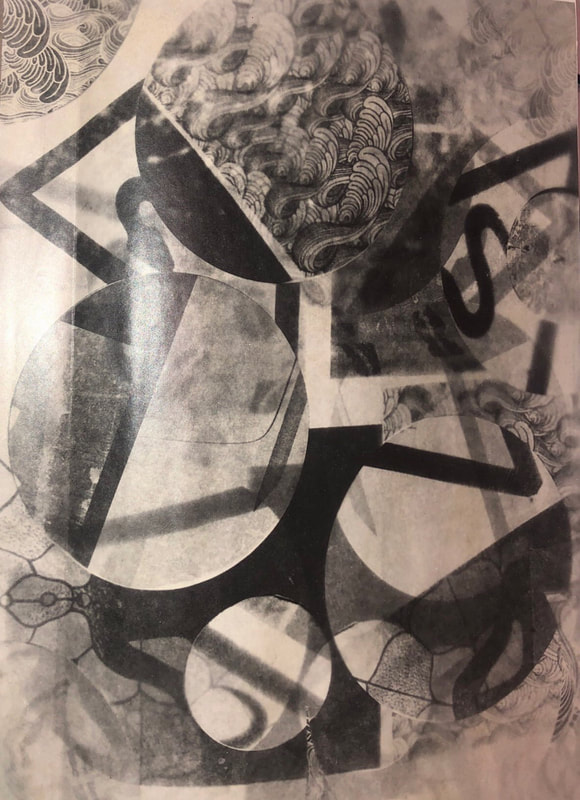
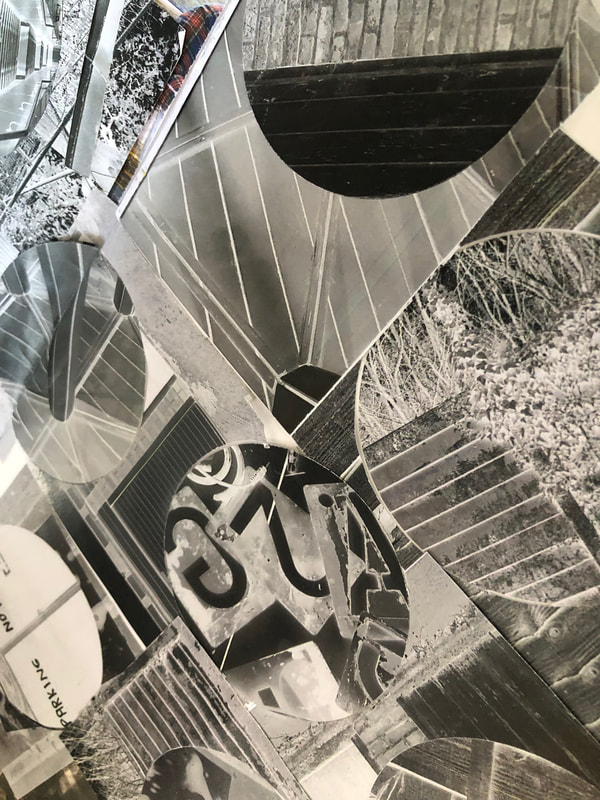
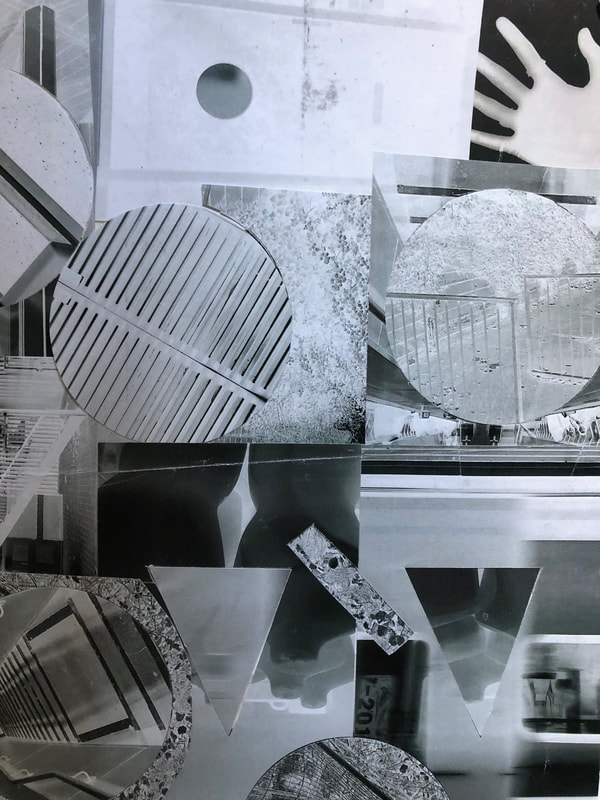
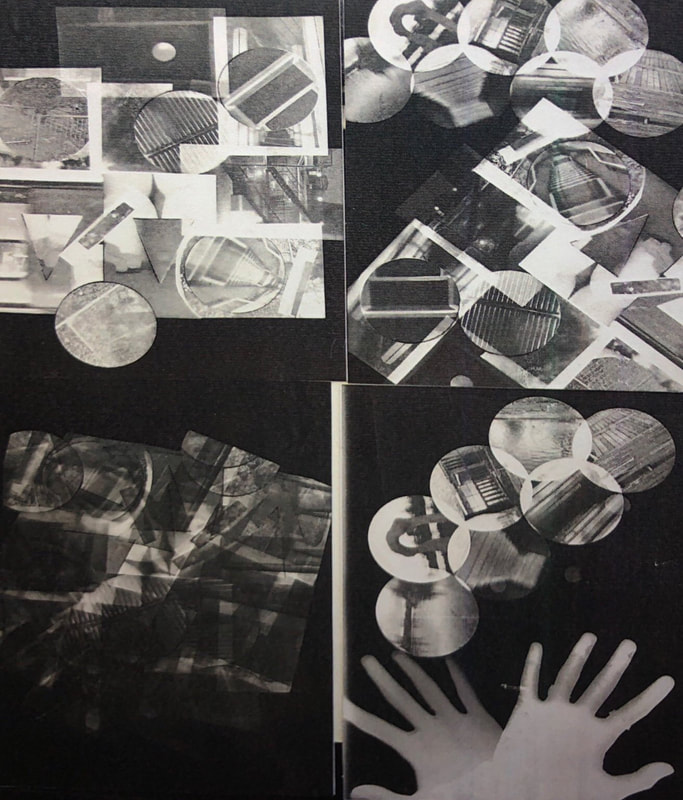
Experimenting more I wanted to look into creating one whole image by using loads of small images and also taking the concept of shape into hand and using it to create something that is abstract and quite surreal. To create this I used the process from the above of printing out images from the internet in which I liked and then cut out into shapes. I focused mostly on cutting out circles (using a circles cutter) as I wanted the images to still be noticeable and not become completely lost within how busy I knew the final outcome was going to be. Instead of using in date photographic paper, I chose to use out of date and just slightly bigger than A4 photographic paper but instead of it being shiny it was matte and had a kind of silky touch to it. I then placed all the images together, overlapping and placing one on top of another and then exposed it to light for 11 seconds. I exposed it for slightly longer than the other ones which i had created because there was more paper for the light to get through as there was a lot of images placed over each other. This was the outcome which came out really well and although it wasn't intended there is a slight gradient to it. Around the edges it gets soft and blurring but as you move into the centre it become bold and detailed; capturing every little aspect. |
CHEMIGRAMS
WHAT ARE 'CHEMIGRAMS'?:
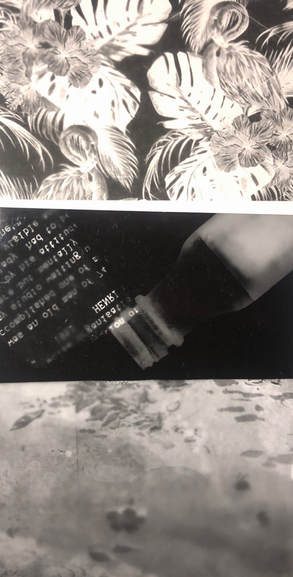
The name as a whole is self explanatory but chemigrams are experimental pieces of art where a photograph is made by placing/painting chemicals onto photographic paper to create an abstratct photograph. There are many chemicals which can be use and even foods which are quite acidic to create chemigrams. When I was looking into photographs I came across chemigrams and decided I wanted to experiment with it and try create some myself. The first chemigram (shown below) of the slide show is a mix between using actual objects and splattering fixer on the top and then exposing it. The chemigrams after were created by either just painting on fixer by itself or using foods which were painted on and then left in a tray of developer in the light to expose. The outcome of the chemigrams I created were really interesting and all looked really different even when using the same chemicals or foods.
FOODS I USED:
-Egg whites
-Tomato residue
-Olive oil
I also used ink too (which in one of the photographs left a tint (blue).
FOODS I USED:
-Egg whites
-Tomato residue
-Olive oil
I also used ink too (which in one of the photographs left a tint (blue).
WIKIPEDIA HISTORY ON CHEMIGRAMS AND DESCRIPTIONS OF THE PROCESS:
https://en.wikipedia.org/wiki/Chemigram
HISTORY:
"Johann Schulze is regarded as the first to obtain a chemigram-like image; in 1725, he produced such a work using opaque paper and a bottle of silver salts. Hippolyte Bayard produced another chemigram-like image during sensitization tests he conducted in 1839. In the 1930s and 1940s, the German Edmund Kesting and the French Maurice Tabard produced pictures by painting with developer and fixer on photographic paper. It is the Belgian artist Pierre Cordier (born 1933), however, who has been most responsible for developing and exploring chemigrams. From his early days, in 1956, he was one of its rare practitioners, and contributed to its development by expanding its technical and esthetic possibilities. He adopted the name chimigramme in French in 1958 (chemigram in English and Dutch, Chemigramm in German, chimigramma in Italian, and quimigrama in Spanish and Portuguese), the most widely accepted designation today. In 1974 Josef H. Neumann advanced the process in his chemograms by incorporating optical elements before applying chemicals."
PROCESS:
"A chemigram is made by painting with chemicals on photographic paper and lies within the general domain of experimentation in the visual arts. It requires the use of materials from silver halide-based photography (light-sensitive paper, developer, and fixer), but it is not a photograph. Like the photogram, the chemigram is made without a camera, yet it is created in full light instead of in the darkness of the darkroom. For this reason it is not "light that writes" (photo graphein in the Greek) but rather "chemistry that writes". Chemigrams can be made solely with photo paper, developer, and fixer, with results that will somewhat resemble watercolor. The possibilities can be multiplied by using materials from painting (such as varnish, wax, or oil),[5] These kinds of experiments are akin to those of Paul Klee, Max Ernst, and Antoni Tàpies. Unlike chemigrams the production process of chemograms consists of two different steps. First an enlarger is used to partly or fully process a photographic image onto photographic paper in the darkroom and thereafter the chemicals are applied in full light."
PINHOLE CAMERA
WHAT IS PINHOLE PHOTOGRAPHY?:
Pinhole photography is photograph and photographs which have been taken with a pinhole camera which can be made by almost anyone with the right materials. "A pinhole is a simple camera without a lens but with a tiny aperture, a pinhole – effectively a light-proof box with a small hole in one side. Light from a scene passes through the aperture and projects an inverted image on the opposite side of the box, which is known as the camera obscura effect."
MAKING MY OWN PINHOLE CAMERA:
In class we are instructed to create our own pinhole camera and were given the materials to make one because we were going to then take our own photographs using our own pinhole cameras.
|
|
To help create mine I YouTubed videos on how to create them but also to create a simple one because i found that there were many ways to create a pinhole camera, some which were more complex than the other. I found this video by the 'The Royal Institution' which went through all the steps and materials needed to create a working pinhole camera.
MATERIALS NEEDED: - A box -Black paper/tape -Aluminium foil (cut from a drinks can) -Pin |
|
|
|
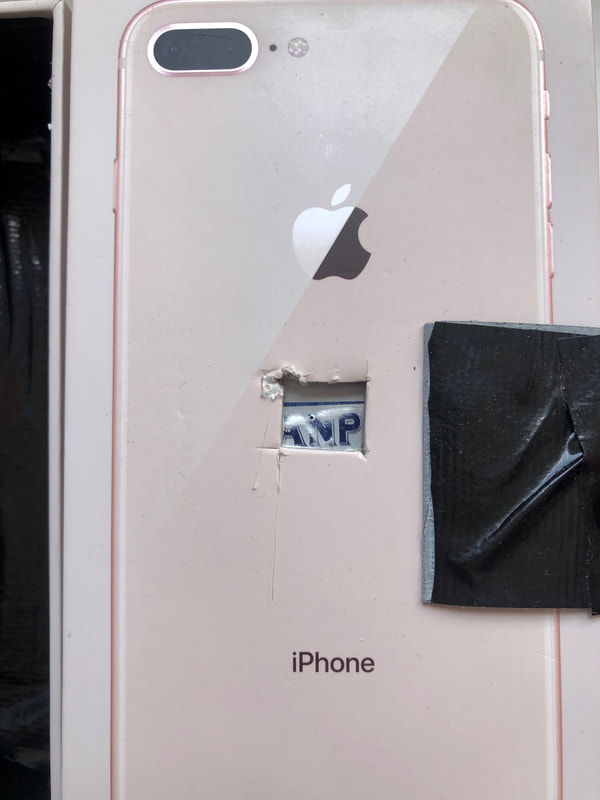
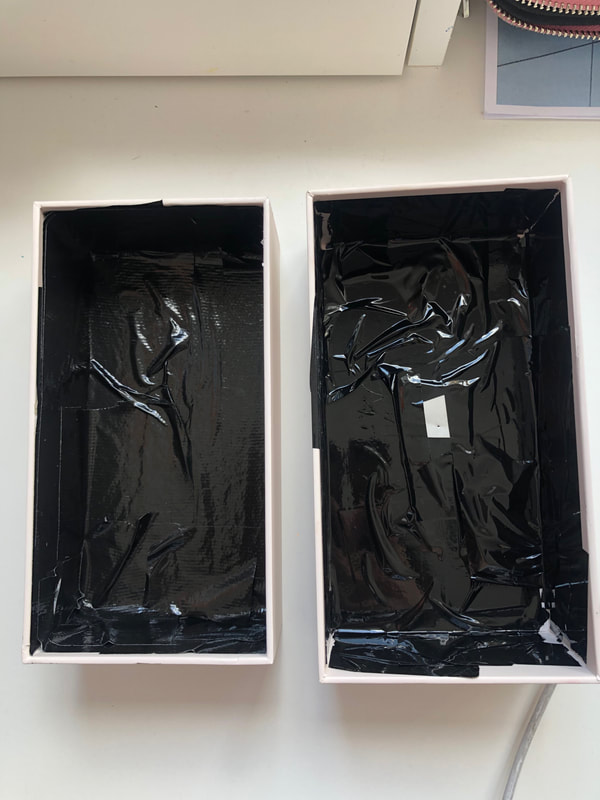
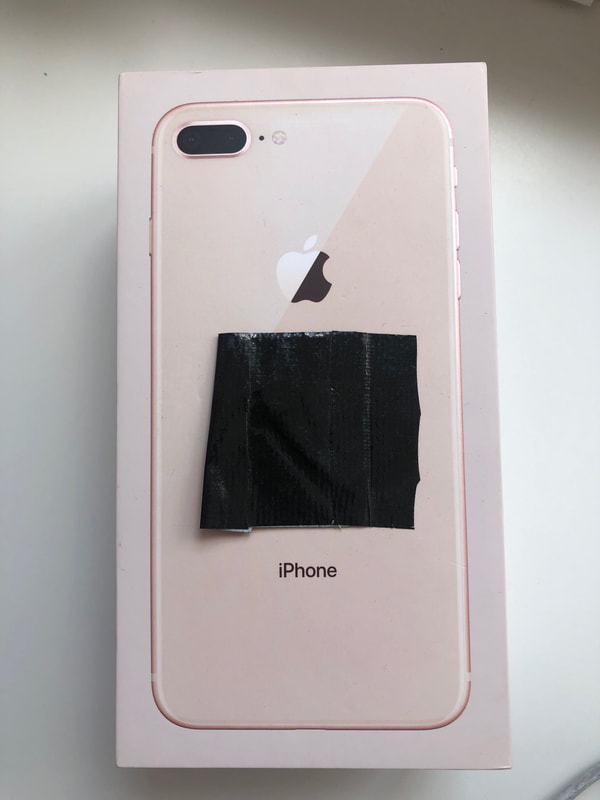
To create my pinhole camera I started by taking an old Iphone box and cutting out a square hole in the centre of the lid. I then cut a square out of a drinks can and then taking a pin I poked a hole through the aluminium square and then hot glued it to the inside of the lid where i had cut out the square in the box. After I tapped up the inside of the box with black tape making sure that its all covered, so that there was no source of light at all. I then places tape at the front to act as a sort of door so that I could control when light could enter and also how much. When I actually used it I cut a small rectangular piece of photographic paper and placed it inside facing towards the tiny pinhole.
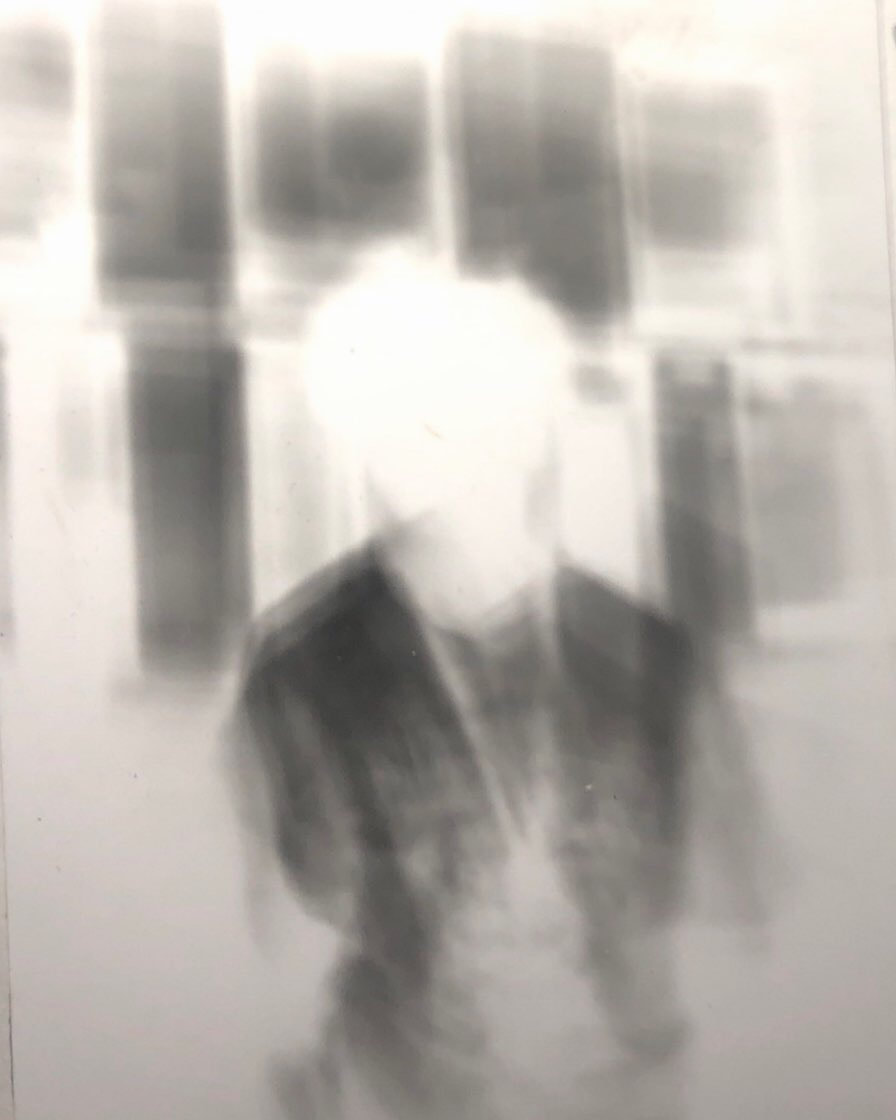
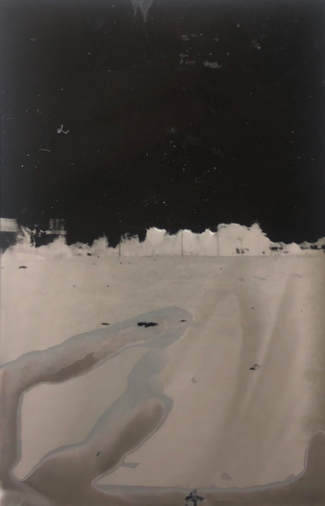
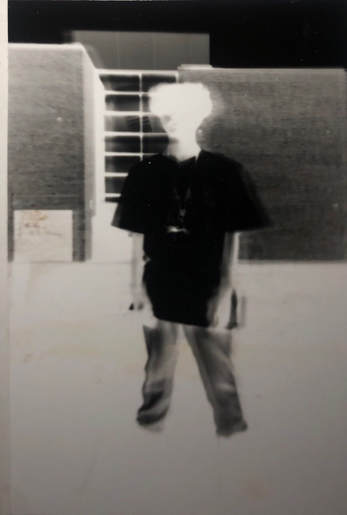
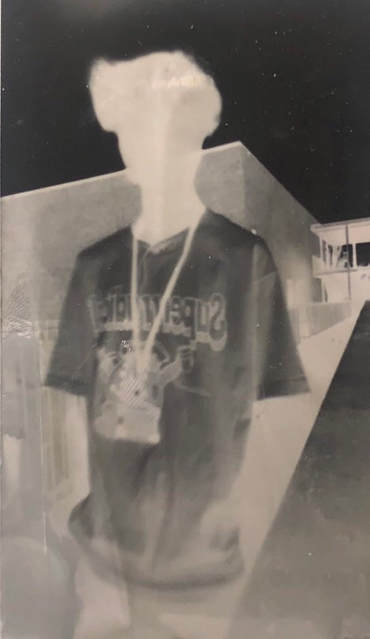
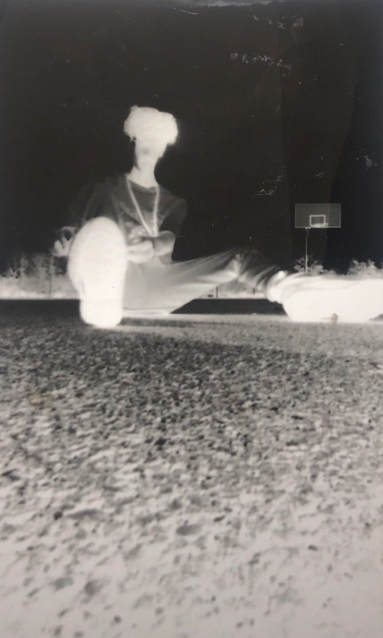
PHOTOS MADE WITH MY PINHOLE CAMERA:
|
|
|
|
|
THE DARKROOM CHALLENGE
"you will have approximately 3 weeks to create a personal and meaningful outcome that originates in one or more experiments in the darkroom. The deadline for submission of this work (and the accompanying documentation is: Friday 15 December.
You should consider the following:
You should consider the following:
- How might you further explore the way that photosensitive surfaces react to light? (TC#2) (TC#6)
- Which techniques/processes would you like to develop and refine (and possibly combine) - photograms, cyanotypes, pinhole? (TC#5)
- Which artists/photographers' practices might help you develop an interesting idea for your own work? What strategic research do you need to do? i.e. carefully selected websites, books, exhibitions etc.
- How will you document your research, ideas, experiments and outcome"
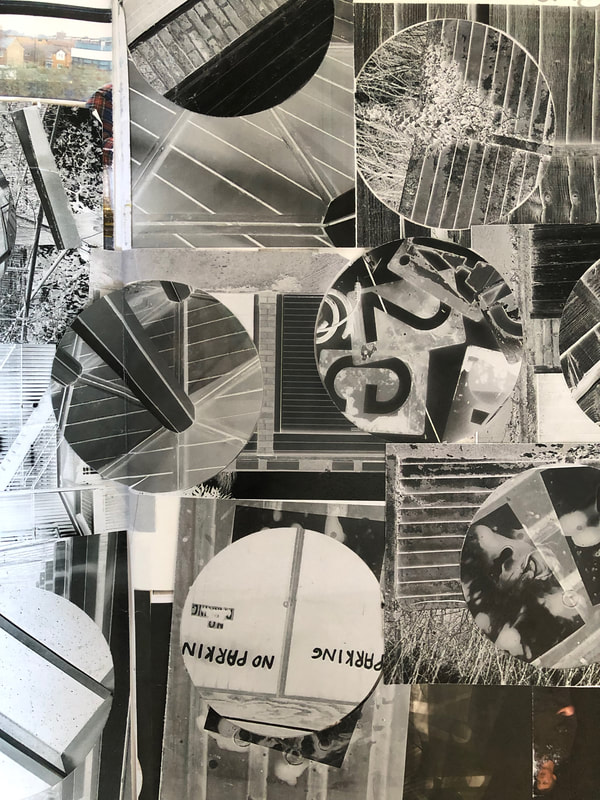
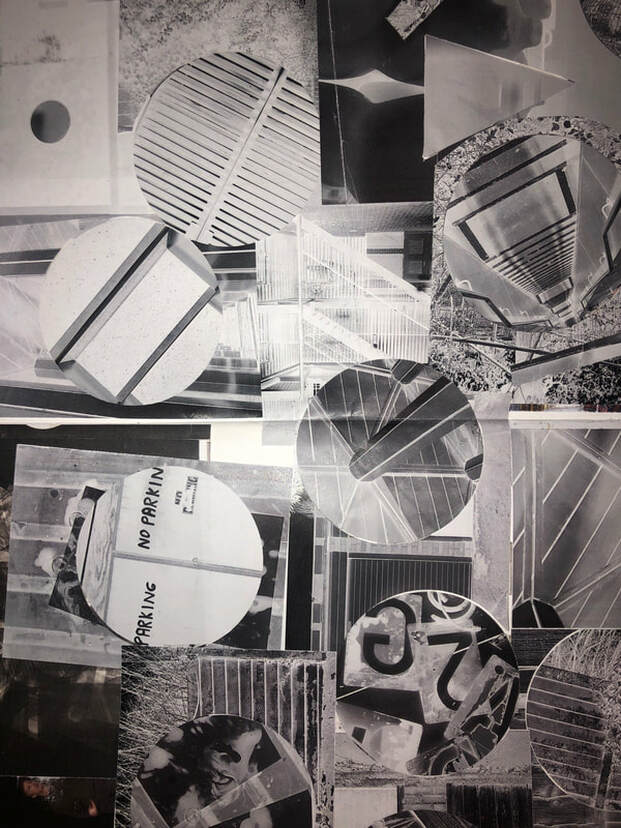
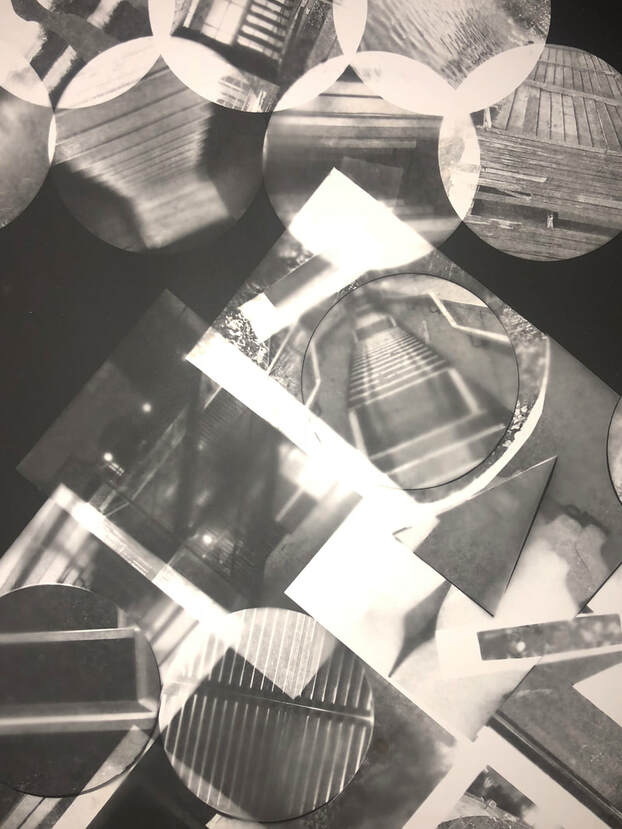
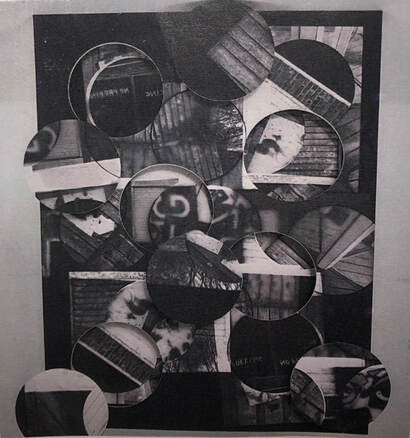
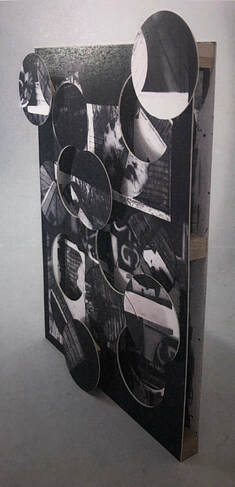
For my outcome for the darkroom challenge I did not want to look into other peoples works because I wanted this to be personal to me and to be inspired by myself or something that is a key aspect in my life. I decided to create a collage using different circles (like what I had done when we first started using the darkroom and were introduced to photograms) to take images I had taken from areas which were sentimental to me and then created these collages but using that same silky out of date photographic paper which I had used previously.
PAPER COLLAGES:
|
|
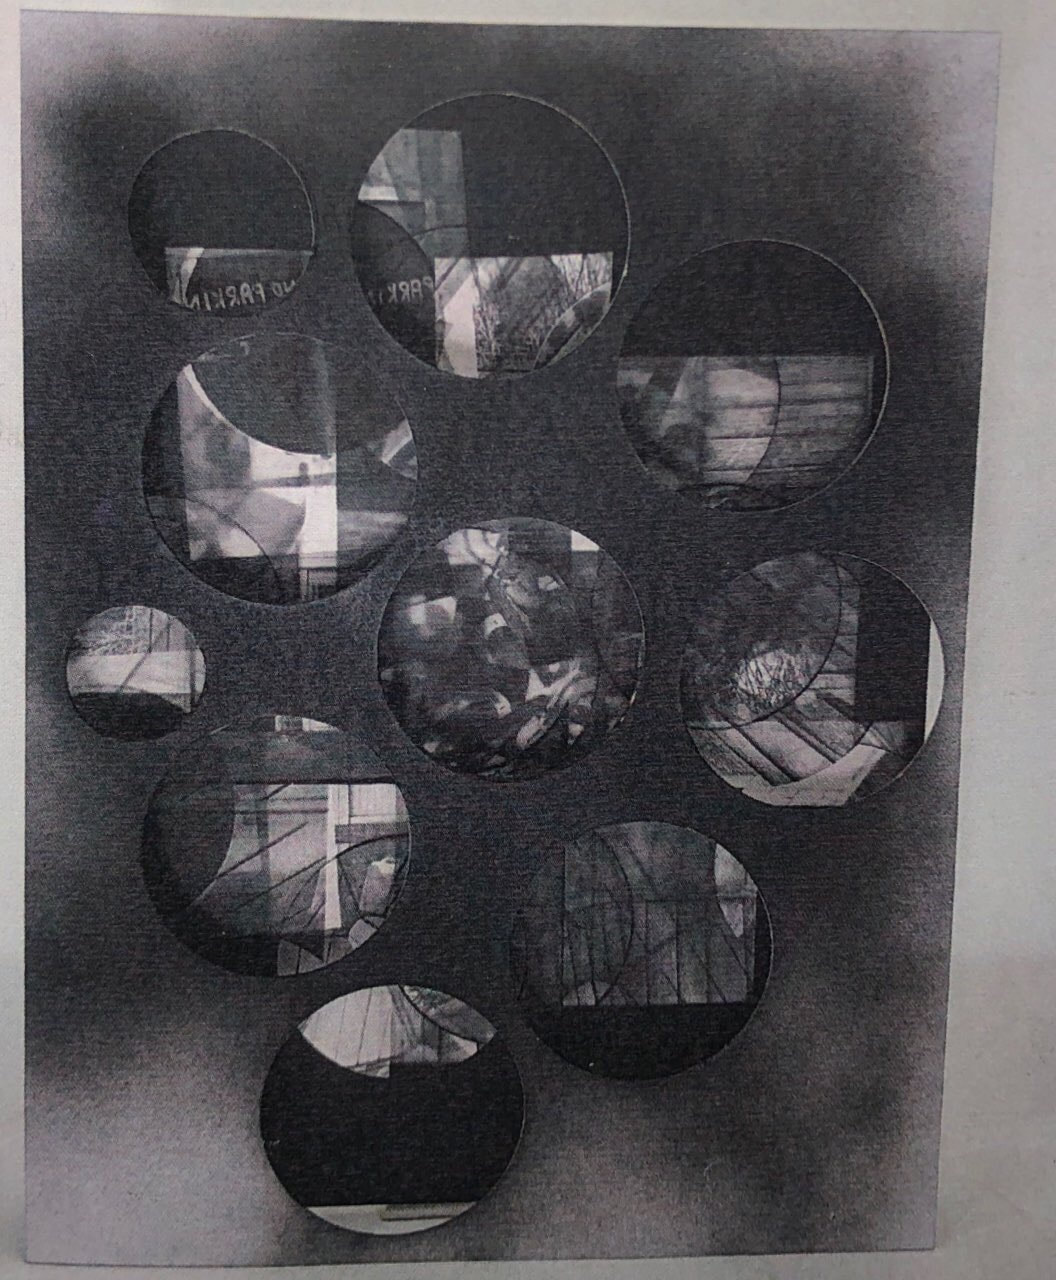
THE COLLAGES AS PHOTOGRAPHS:
THE FINAL OUTCOME OF OVER LAPING AND LAYERING :
|
|
|
